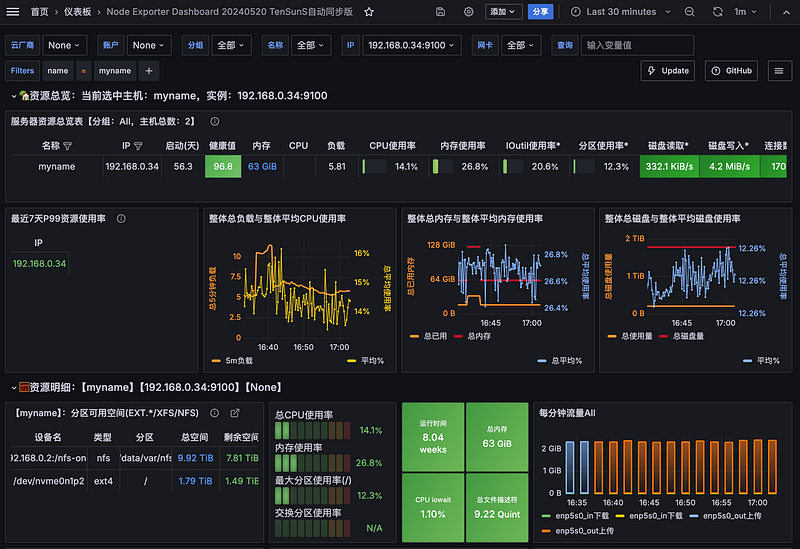
Grafana 系列監控系列 - node_exporter 採集主機資訊
Grafana 系列監控系列 - node_exporter 採集主機資訊
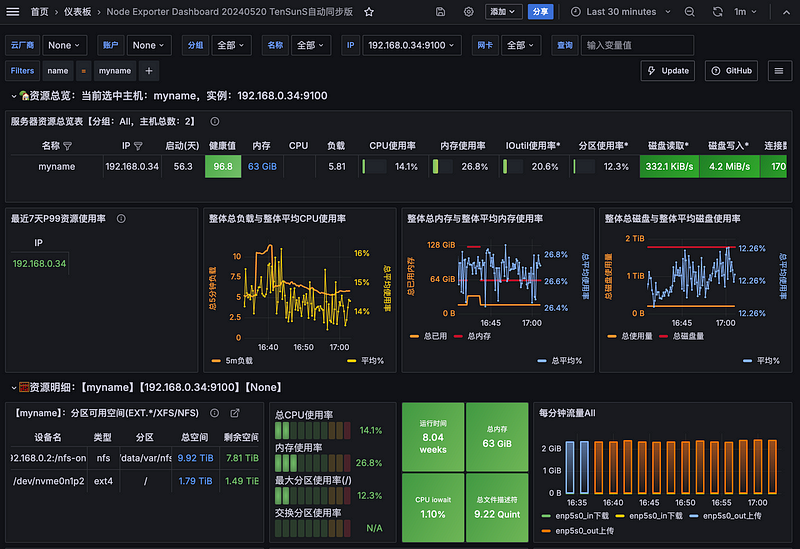
監控機ip 192.168.0.34
分為以下幾個步驟
- 下載及運行Node_exporter 在監控機上
- 配置本地prometheus 撈取監控機數據
- 透過 Grafana 觀察撈取的數據
1. 下載及運行Node_exporter 在監控機上
Node_exporter github
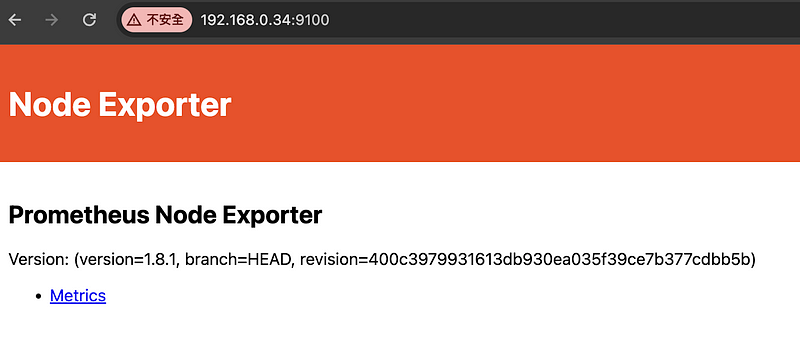
針對主機 cpu 下載相對應的運行時,下載後會如下圖,運行在該機器的9100 port上面,之後在設定 prometheus 撈取數據存在。
# 該範例運行在intel 晶片上面
wget https://github.com/prometheus/node_exporter/releases/download/v1.8.1/node_exporter-1.8.1.linux-amd64.tar.gz
tar zxvf node_exporter-1.8.1.linux-amd64.tar.gz
cd node_exporter-1.8.1.linux-amd64
nohup ./node_exporter &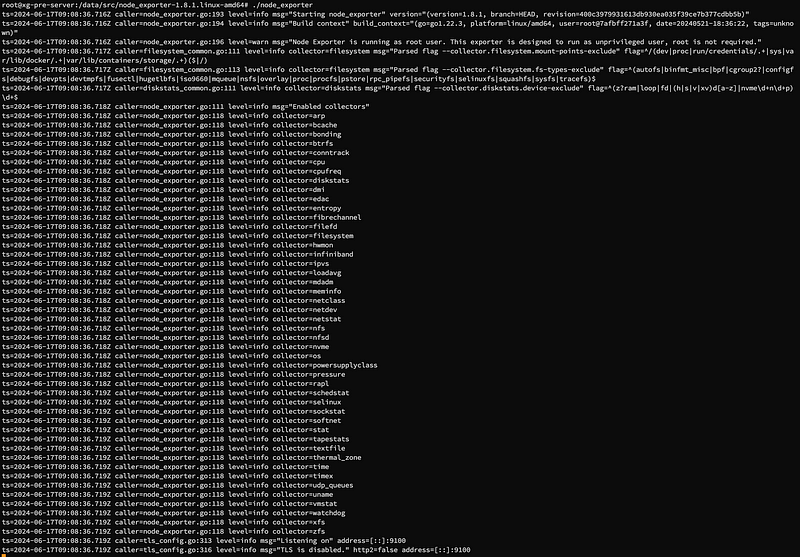
2. 配置本地prometheus 撈取監控機數據
新增配置,並且重新啟動,可以到prometheus 查看配置是否成功,在Status->Targets。
# 配置在 /opt/bitnami/prometheus/conf/prometheus.yml
# my global config
global:
  scrape_interval: 15s # Set the scrape interval to every 15 seconds. Default is every 1 minute.
  evaluation_interval: 15s # Evaluate rules every 15 seconds. The default is every 1 minute.
  # scrape_timeout is set to the global default (10s).

# Alertmanager configuration
alerting:
  alertmanagers:
    - static_configs:
        - targets:
          # - alertmanager:9093

# Load rules once and periodically evaluate them according to the global 'evaluation_interval'.
rule_files:
  # - "first_rules.yml"
  # - "second_rules.yml"

# A scrape configuration containing exactly one endpoint to scrape:
# Here it's Prometheus itself.
scrape_configs:
  # The job name is added as a label `job=<job_name>` to any timeseries scraped from this config.
  - job_name: "prometheus"

    # metrics_path defaults to '/metrics'
    # scheme defaults to 'http'.

    static_configs:
      - targets: ["localhost:9090"]
  - job_name: "local" # <-- 新增配置 選定機器ip
    static_configs:
      - targets: ["192.168.0.34:9100"]
        labels: # <-- 若想要分組 可以透過 標籤 依照面板設定
          name: myname-2
          job: test-2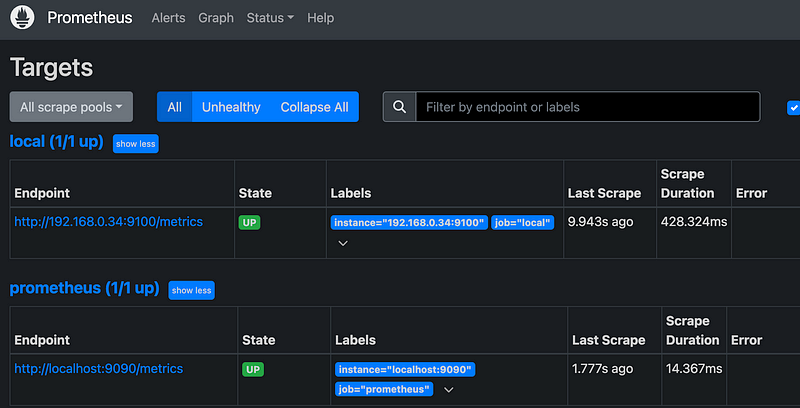
透過 Grafana 觀察撈取的數據
Grafana 面板 如果要中文可以選擇,若想要分群組 可以新增參數
中文 8919
英文 1860
