
VPN - Wireguard 部署 Docker版本
選擇任一雲 開啟機器後操作步驟可分為以下
- 修改本地內核參數 /etc/sysctl.conf
- Docker 一鍵部署
- 掛載測試(Mac範例/Asus路由器)
修改本地內核參數 vi /etc/sysctl.conf
net.ipv4.ip_forward = 1
net.ipv4.conf.all.rp_filter = 0
net.ipv4.conf.default.rp_filter = 0
運行 sysctl -p 即可加載配置。
Docker一鍵部署
安裝 Docker (若有安裝可略過該步驟)
curl -fsSL https://get.docker.com -o get-docker.sh
sh get-docker.sh
安裝 Wireguard
使用該範例需要修改一些參數
- 預設欄位例如公網IP / PORT(udp) / 內網IP 都需要填入
- -v 若無修改則會將配置放在宿主機的當前運行指令的目錄。
- PEERS 創建所需數量的user
touch run.sh#!/bin/bash
PUBLIC_IP=
PORT= #udp 對外要走的port
INTERNAL_SUBNET=10.13.13.0/24 #vpn網段,可修改成自己想指定的內網網段
docker run -d --name=wireguard --cap-add=NET_ADMIN --cap-add=SYS_MODULE -e PUID=1000 -e PGID=1000 -e SERVERURL=${PUBLIC_IP} -e SERVERPORT=${PORT} -e PEERS=10 -e PEERDNS=8.8.8.8 -e INTERNAL_SUBNET=${INTERNAL_SUBNET} -e ALLOWEDIPS=0.0.0.0/0 -p ${PORT}:51820/udp -v ./config:/config --restart unless-stopped linuxserver/wireguard安裝好後目錄會像這樣
root@wireguard-vpn-test-tokyo:/home/hihi/config# tree -L 2
.
├── coredns
│   └── Corefile
├── peer1
│   ├── peer1.conf
│   ├── peer1.png
│   ├── presharedkey-peer1
│   ├── privatekey-peer1
│   └── publickey-peer1
├── peer2
│   ├── peer2.conf
│   ├── peer2.png
│   ├── presharedkey-peer2
│   ├── privatekey-peer2
│   └── publickey-peer2
├── server
│   ├── privatekey-server
│   └── publickey-server
├── templates
│   ├── peer.conf
│   └── server.conf
└── wg_confs
    └── wg0.conf
若要連線的話 複製在peer1/peer1.conf 會獲得類似下面的資訊
[Interface]
Address = 10.13.13.2
PrivateKey = kKxTjeaIwlw4Cg2gQAg+Yo83C/Fw=
ListenPort = 51820
DNS = 8.8.8.8

[Peer]
PublicKey = zzXFx8au0W5VJhuEQqb0wEkehjexdhsN2g=
PresharedKey = DbKhpB+vHGrGo0efCfM+NArLOxw16OT0=
Endpoint = 4.2.1.54:51820
AllowedIPs = 0.0.0.0/0
測試連線
若使用 MAC系統可以直接到 App Store (免費) 下載並安裝。

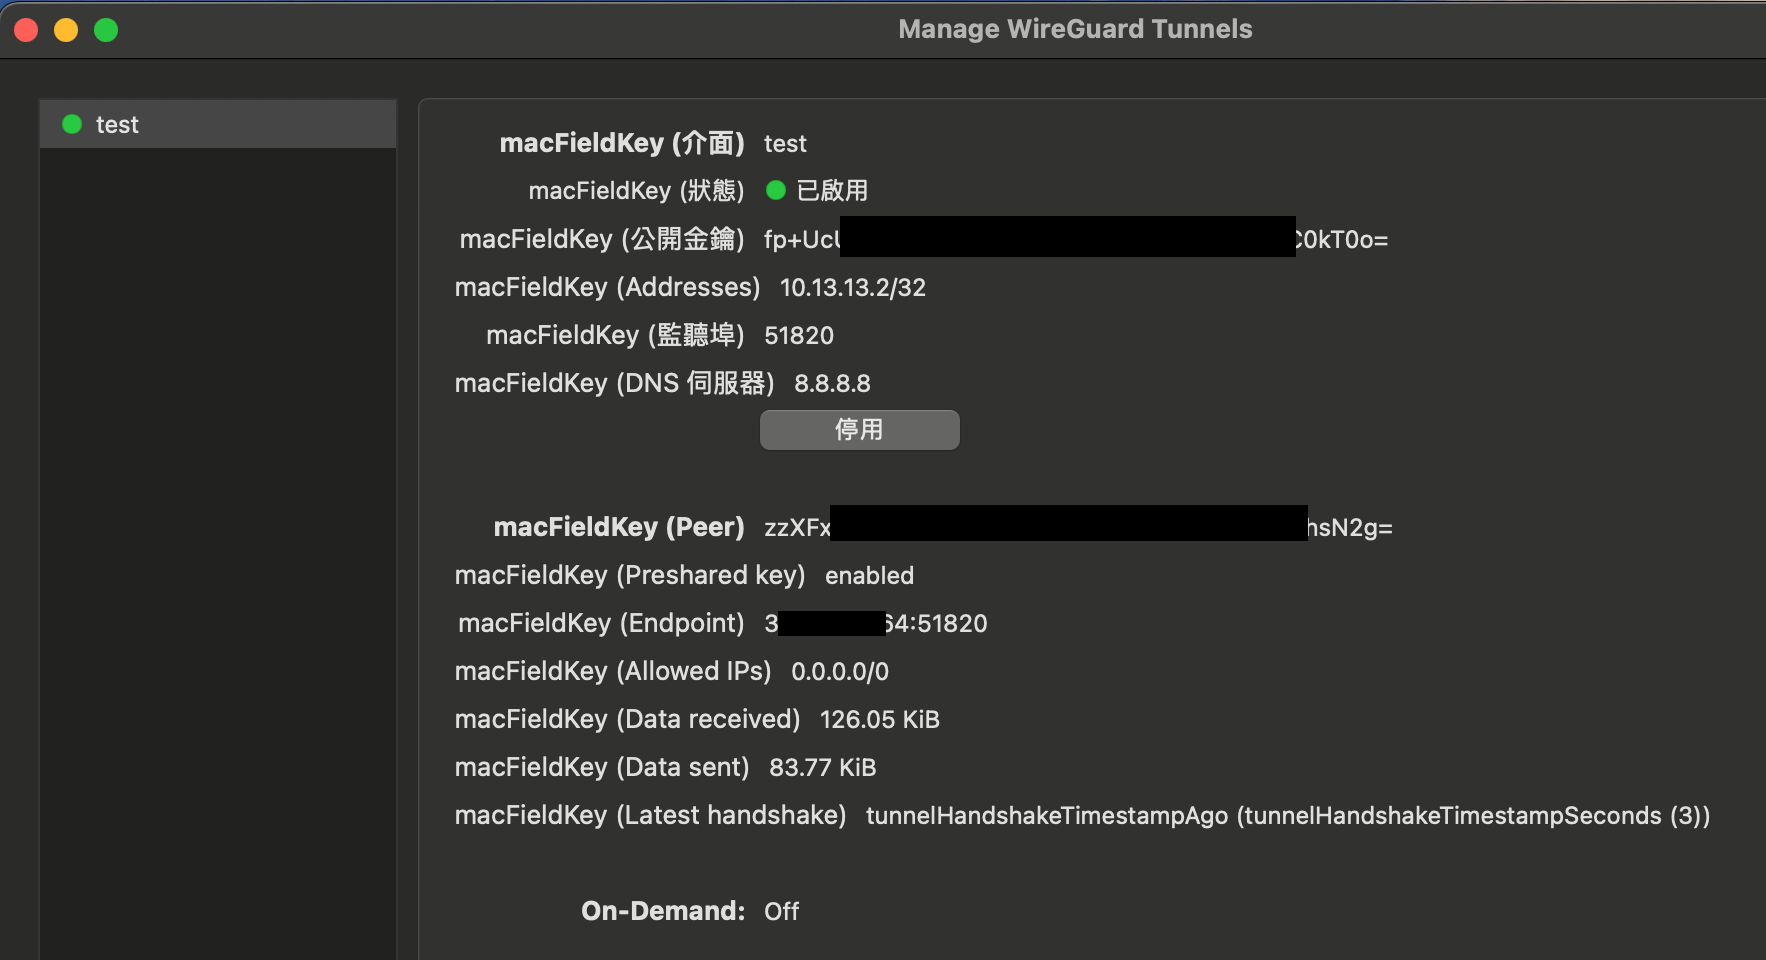
左 未啟動前 右 啟動後